How Liquid Cooling Works: An In-Depth Guide for DIY Enthusiasts
1 March 2026
Building and maintaining a high-performance PC is an art. Whether you’re gaming, overclocking, or just seeking the coolest, quietest build, liquid cooling can take your system to the next level.
But how does liquid cooling actually work? And why do so many DIY enthusiasts swear by it? If you’ve ever wondered whether you should ditch air cooling and take the plunge (pun intended), this guide is for you! 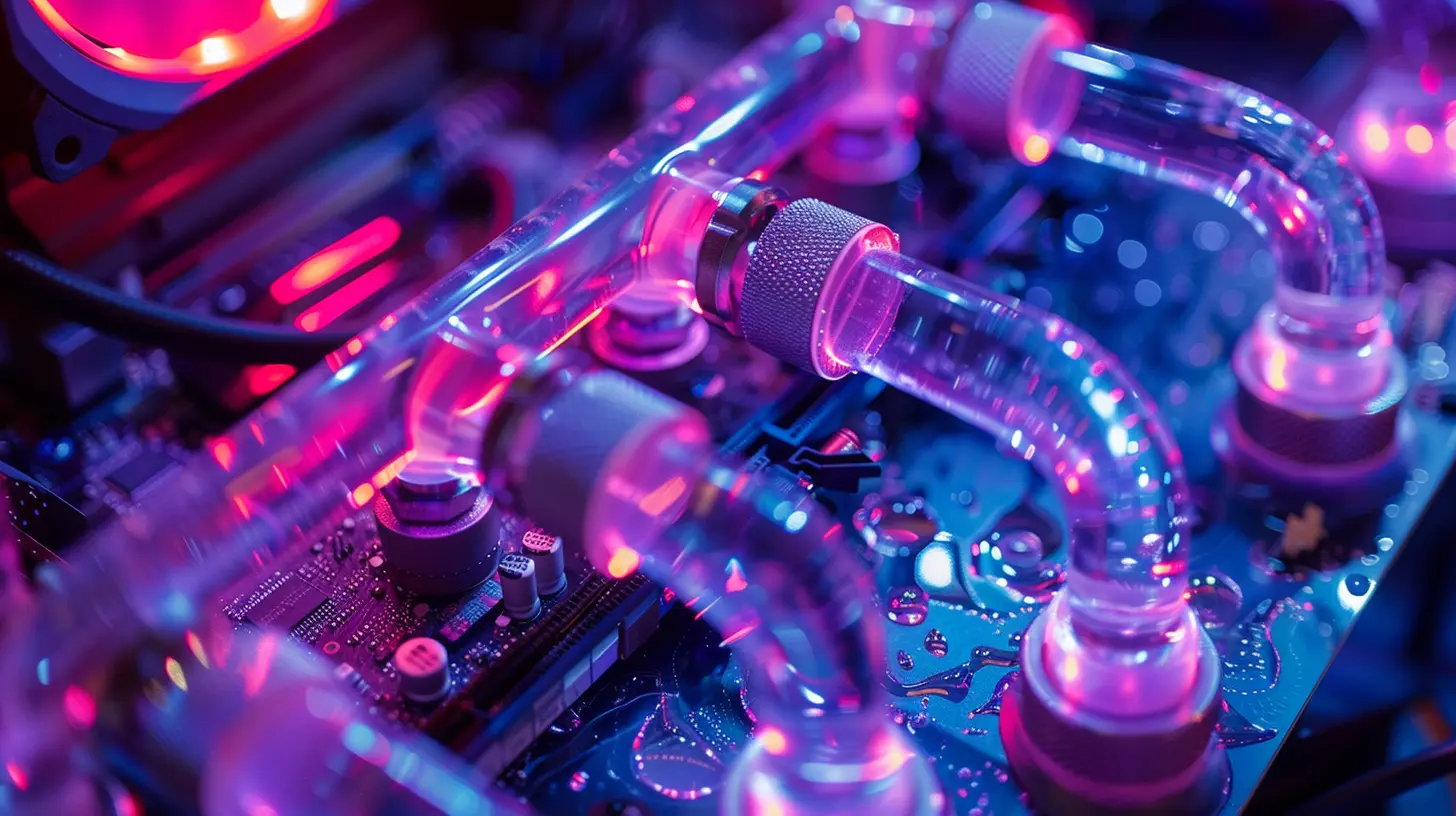
🔥 Why Choose Liquid Cooling Over Air Cooling?
Air cooling with fans and heat sinks gets the job done for most people. But when you're pushing your hardware to the limit, air just isn’t enough. Here’s why liquid cooling is a game-changer:- Superior Heat Dissipation – Liquids conduct heat far better than air, keeping components cooler.
- Quieter Operation – No more jet engine-like fan noise when gaming or rendering.
- Aesthetic Appeal – Custom loops look amazing, especially with RGB lighting.
- Better Overclocking Potential – Lower temperatures mean you can squeeze even more power out of your CPU and GPU.
Still with me? Great! Let’s break down exactly how liquid cooling works. 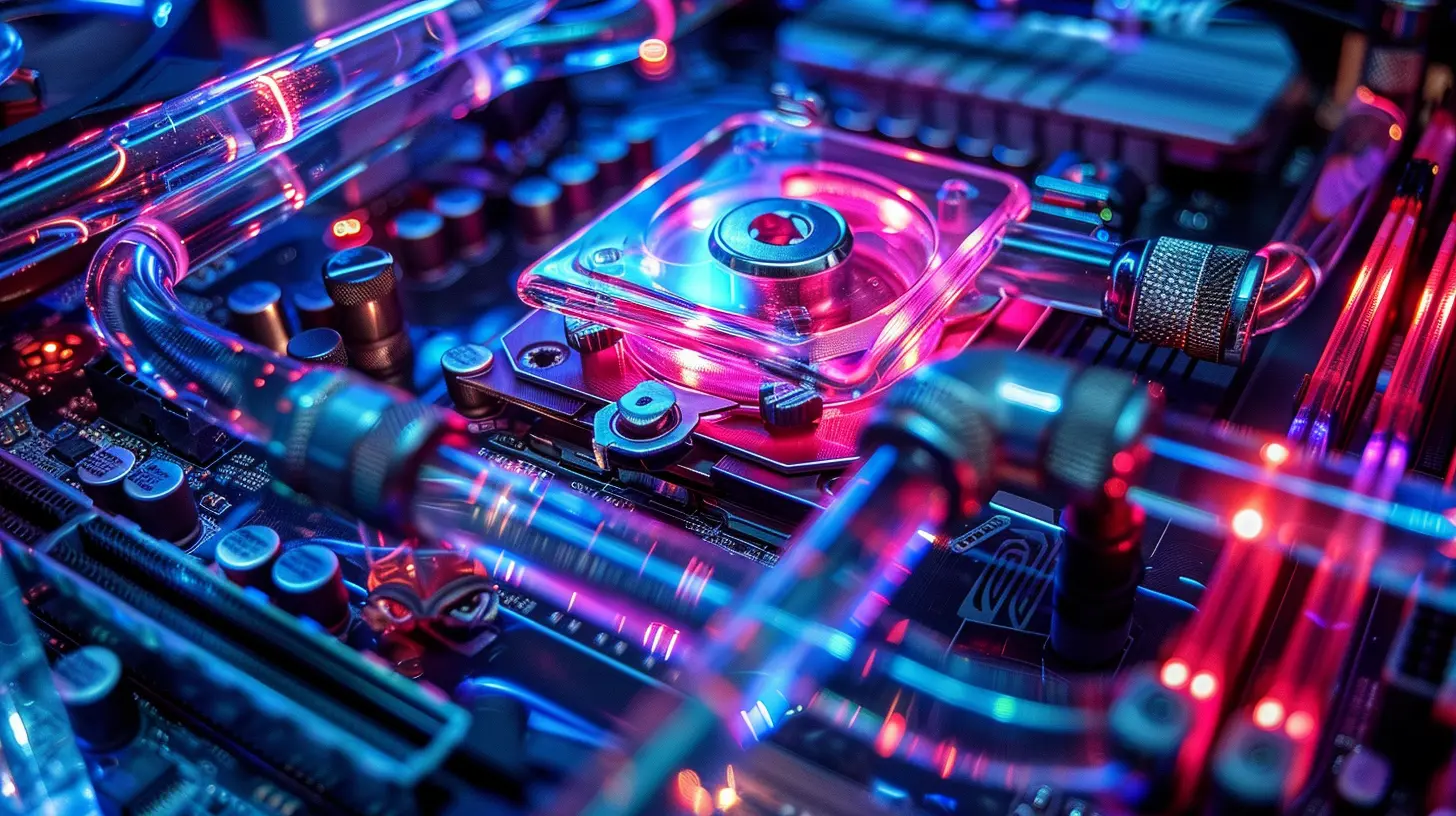
🏗️ The Core Components of a Liquid Cooling System
Before we go any further, let’s take a look at the fundamental parts of a liquid cooling setup.1️⃣ Coolant (The Heat Carrier)
Coolant is the liquid that absorbs heat from your components and carries it away. It’s usually a mix of distilled water and special additives to prevent corrosion and bacterial growth. Some coolants come in eye-catching colors and even glow under UV light.2️⃣ Water Block (The Heat Absorber)
The water block is essentially a highly efficient heat sink for your CPU or GPU. It sits directly on top of the chip, drawing heat away and transferring it to the coolant.3️⃣ Pump (The Heart of the System)
The pump circulates coolant through the loop, ensuring that heat is being moved efficiently. Think of it like a heart, keeping everything flowing smoothly.4️⃣ Radiator (The Heat Exchanger)
This is where the magic happens! The radiator dissipates the heat carried by the coolant. Fans mounted on the radiator help transfer this heat out of your system, keeping temperatures in check.5️⃣ Reservoir (The Coolant Tank)
The reservoir holds extra coolant and helps prevent air bubbles from getting into the system. Some reservoirs come combined with pumps for easier installation.6️⃣ Tubing (The Highway of Your Cooling System)
Flexible or rigid tubing connects all the components, forming a continuous loop for the coolant to travel through.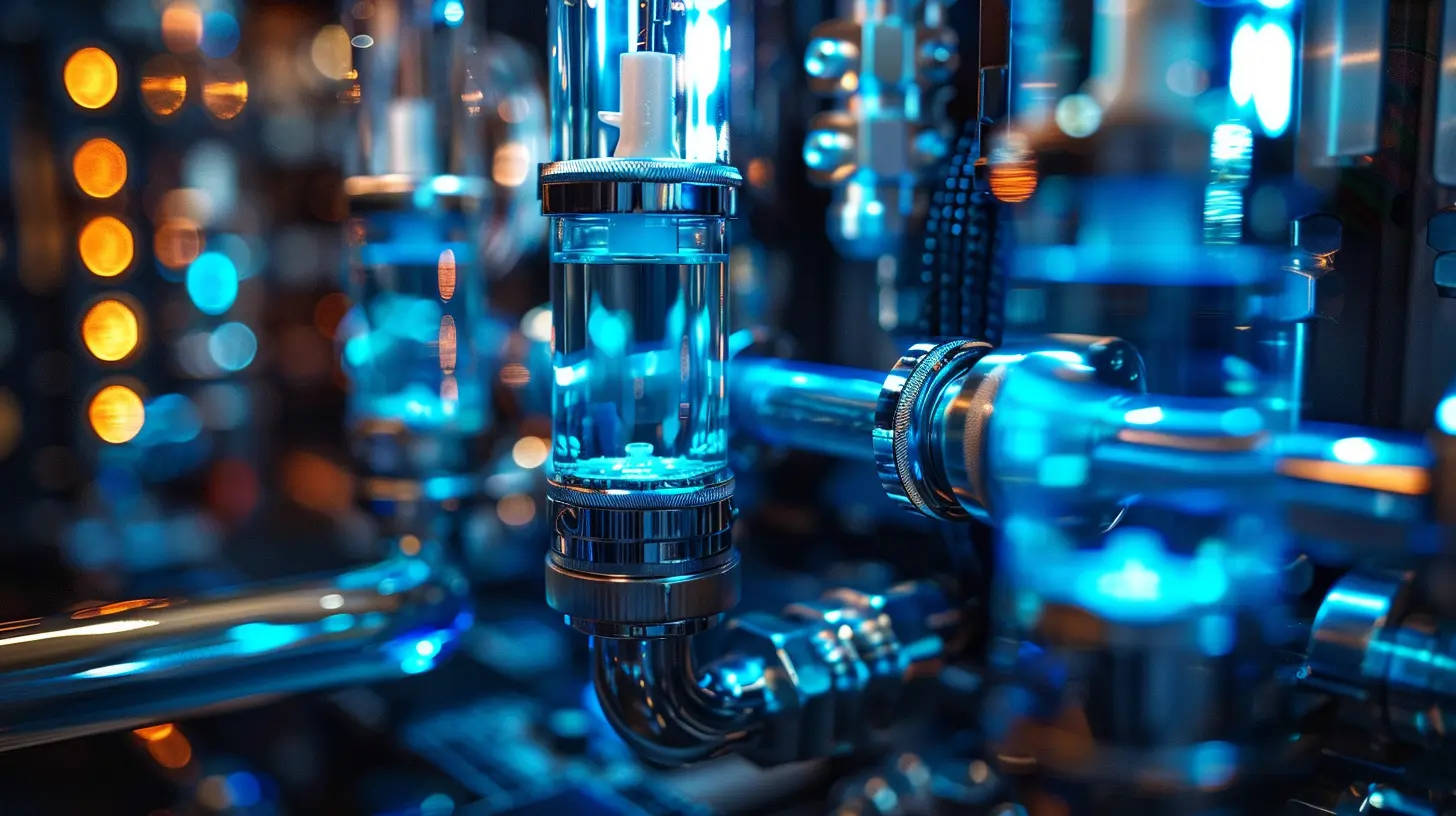
🔄 How Liquid Cooling Works – Step by Step
Now that you know the parts, let's walk through how everything comes together to keep your PC cool.Step 1: The Water Block Absorbs Heat
Your CPU or GPU generates heat when it’s running. The water block, which is in direct contact with the chip, absorbs this heat.Step 2: The Coolant Carries Heat Away
Once the water block absorbs heat, the warm coolant moves along the tubing, carrying that heat away from the processor.Step 3: The Radiator Dissipates the Heat
When the warm coolant reaches the radiator, fans blow air across the radiator’s fins, dissipating the heat into the surrounding environment.Step 4: Coolant Circulates Back to the Water Block
The now-cooled liquid travels back through the tubing, returning to the water block to start the process all over again.This continuous cycle ensures that your CPU and GPU remain at optimal temperatures, even under heavy loads. 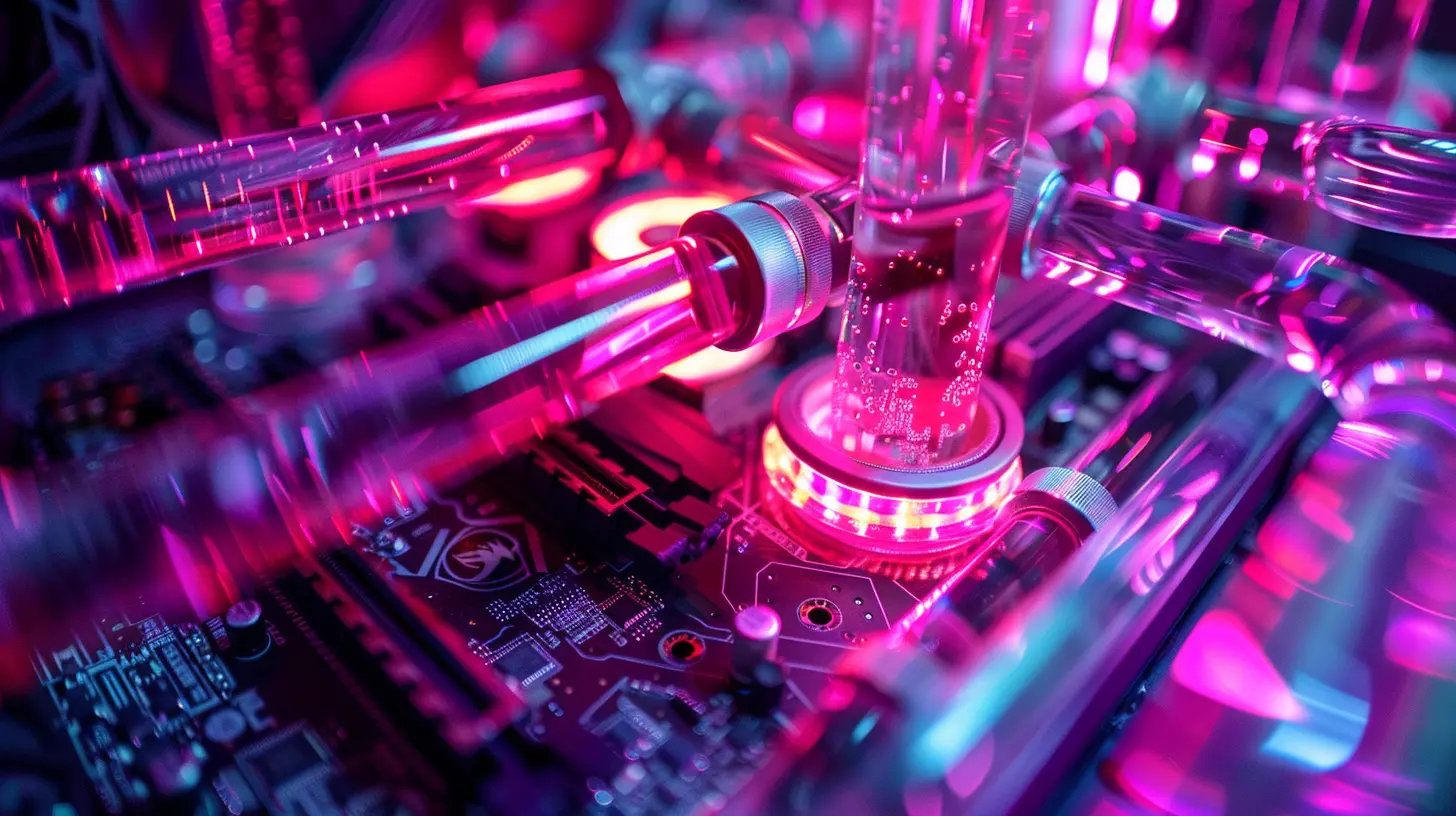
🛠️ Custom vs. All-in-One (AIO) Liquid Cooling
When it comes to liquid cooling, there are two main approaches:✅ All-in-One (AIO) Coolers
AIO coolers are pre-assembled, sealed units that are easy to install. They consist of a pump, radiator, and water block in a single package. If you're new to liquid cooling and want hassle-free setup, an AIO cooler is a solid choice.Pros:
✔️ Easier to install than custom loops
✔️ Lower maintenance
✔️ Great for cooling just the CPU
Cons:
❌ Less customizable
❌ Not as effective as custom setups for extreme cooling
🔧 Custom Loop Cooling
A custom loop lets you build a full-fledged liquid cooling system from scratch. You can cool multiple components (CPU, GPU, even RAM and motherboard VRMs) and design your loop exactly how you want it.Pros:
✔️ Maximum cooling potential
✔️ Fully customizable aesthetics
✔️ Can cool multiple components
Cons:
❌ Much more complex to set up
❌ Requires regular maintenance
❌ Higher upfront costs
If you're the DIY type and love pushing boundaries, a custom loop is the way to go!
🏆 Advantages and Disadvantages of Liquid Cooling
No cooling method is perfect, so let’s take a balanced look at the pros and cons.⭐ Advantages:
✅ Better Cooling Performance – Handles intense workloads better than air cooling.✅ Quieter Operation – No loud fans roaring in the background.
✅ Customization – Choose your colors, add RGB, and make your build truly unique.
✅ Overclocking Potential – Keeps temps low for stable overclocks.
⚠️ Disadvantages:
❌ Higher Cost – Custom loops can be pricey.❌ More Maintenance – Coolant needs to be changed periodically.
❌ Risk of Leaks – Improper installation can lead to disasters (but don’t worry, we’ll cover how to prevent this).
🔥 Tips for Building a Leak-Proof Liquid Cooling System
A leak in your liquid cooling loop can be a nightmare. But with careful planning, you can avoid disaster.✅ Double Check Fittings – Make sure all connections are secure and snug.
✅ Use a Leak Test Kit – Before powering on your system, run a leak test with distilled water.
✅ Keep Drip Towels Handy – Always place paper towels under fittings while testing.
✅ Regular Maintenance – Check fluid levels and clean out dust from radiators.
With the right precautions, liquid cooling can be both safe and rewarding!
🚀 Final Thoughts – Is Liquid Cooling Right for You?
Liquid cooling isn’t just for hardcore overclockers. If you love tinkering with your build and want superior cooling performance, it’s a fantastic option. While it may require a higher investment of time and money up front, the long-term benefits—cooler temps, quieter operation, and an aesthetic boost—make it entirely worth it.If you're a DIY enthusiast ready to take the plunge, start with an AIO cooler and work your way up to a custom loop. Trust me, once you see that beautifully cooled, RGB-lit setup in action, you’ll never look back!
all images in this post were generated using AI tools
Category:
Computer HardwareAuthor:

Reese McQuillan
Discussion
rate this article
2 comments
Willow Moses
Embrace the power of innovation! Diving into liquid cooling not only enhances your tech skills but also transforms your DIY projects into high-performance masterpieces. Keep experimenting!
March 10, 2026 at 12:18 PM
Ivan Martin
Liquid cooling: because your PC deserves a spa day too! Dive in and get chill!
March 3, 2026 at 5:01 AM
Reese McQuillan
Great analogy! Liquid cooling not only keeps your PC cool but also enhances performance—perfect for DIY enthusiasts looking to elevate their setup.