How to Properly Upgrade Your PC’s RAM for Maximum Performance
6 June 2025
Upgrading your PC’s RAM can feel like giving your computer a strong cup of coffee—it wakes it up, gets things moving faster, and makes everything run smoother. But here’s the thing: if you don't do it right, you might not see the big boost you're hoping for. It’s not just about slapping in more memory sticks and calling it a day—it's about knowing what you're doing.
In this guide, we're going to walk through everything you need to know about upgrading your RAM, so you actually get the performance kick you're hunting for. We'll cover how to check if you even need more RAM, how to pick the right type, and how to install it without breaking anything (or your spirit).
So, grab a cup of coffee (for yourself this time), and let’s dive into the world of RAM upgrades.
🤔 What is RAM Anyway, and Why Should You Upgrade It?
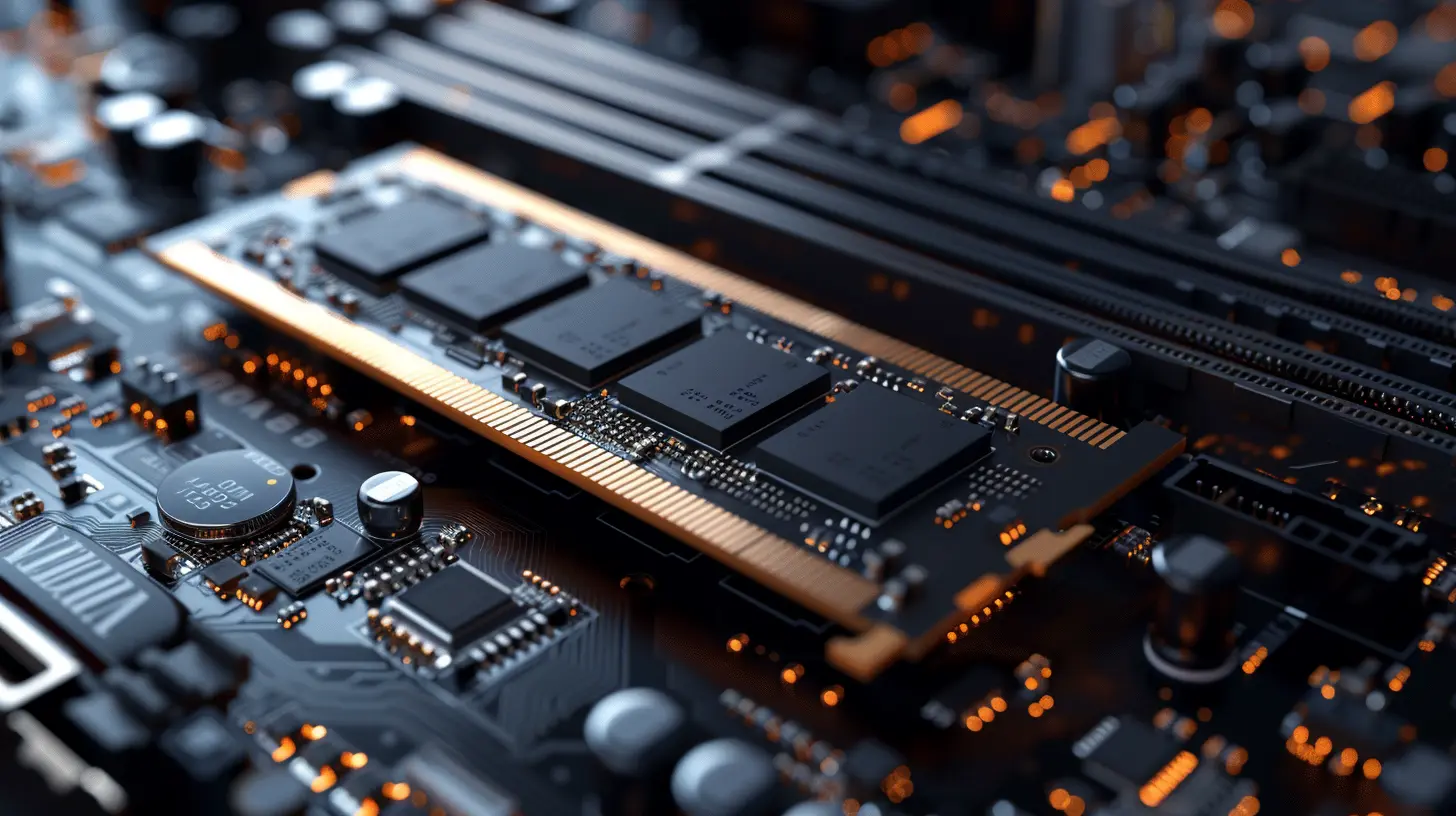
Okay, quick refresher: RAM (Random Access Memory) is your computer’s short-term memory. It's where your PC stores data it’s actively using. Think of RAM like a workbench—if it's big and spacious, you can spread out your tools and work faster. If it's tiny and cramped, you're constantly moving stuff around, and that slows everything down.So why upgrade?
- Speed Boost: More RAM = smoother multitasking.
- Gaming Performance: Many modern games need 16GB+ for smooth gameplay.
- Better Productivity: Apps like Photoshop, Premiere Pro, and even Chrome love to gobble up RAM.
- Future-Proofing: Operating systems and programs are getting more RAM-hungry over time.
If you've noticed your PC slowing down when you open too many tabs or launch a game, RAM might be the bottleneck.
🧪 Step 1: Check How Much RAM You Have (And Need)
Before you start buying parts, let’s figure out what you’re working with.🖥️ On Windows:
1. Press Ctrl + Shift + Esc to open Task Manager.2. Hit the Performance tab.
3. Click Memory.
Here, you’ll see how much RAM is installed, how many slots are used, and how much is in use.
🍏 On macOS:
1. Click the Apple logo.2. Go to About This Mac > Memory.
Now the big question: Do you need more RAM?
Here’s a rough guideline:
- 4GB or less: Barely usable for modern tasks — upgrade ASAP.
- 8GB: OK for basic tasks and light multitasking.
- 16GB: Great for gaming, moderate editing, and smoother multitasking.
- 32GB+: Ideal for heavy video editing, 3D rendering, or serious multitaskers.
Still not sure? Try using your PC like normal and monitor the Task Manager or Activity Monitor. If your system is constantly using 90–100% of memory, you’re due for an upgrade.
🧩 Step 2: Figure Out What RAM Is Compatible With Your PC
Here’s where things get a tad technical—but don’t worry, we’ll keep it simple.📌 Key Specs to Match:
1. DDR Type: Most modern PCs use DDR4 or DDR5. They’re not cross-compatible.2. Speed (MHz): This is like the RPM of your RAM. Higher is usually better—but it only matters if your motherboard and CPU support it.
3. Form Factor:
- DIMM: For desktops.
- SO-DIMM: For laptops.
4. Capacity: Your motherboard has a maximum RAM capacity and a limited number of slots. Check your system's documentation to know your limits.
🛠️ How to Find the Info You Need:
- Use free tools like CPU-Z (Windows) or Crucial System Scanner.- Google your motherboard model or laptop model + "RAM specs".
Tip: Always install matching pairs of RAM (same size, speed, and brand) for the best performance. Mismatched modules can cause instability or reduce speed due to dual-channel limitations.
💸 Step 3: Choose the Right RAM Kit
Now for the fun part—shopping! Here's what to keep in mind:🧠 Brand Name vs. Generic
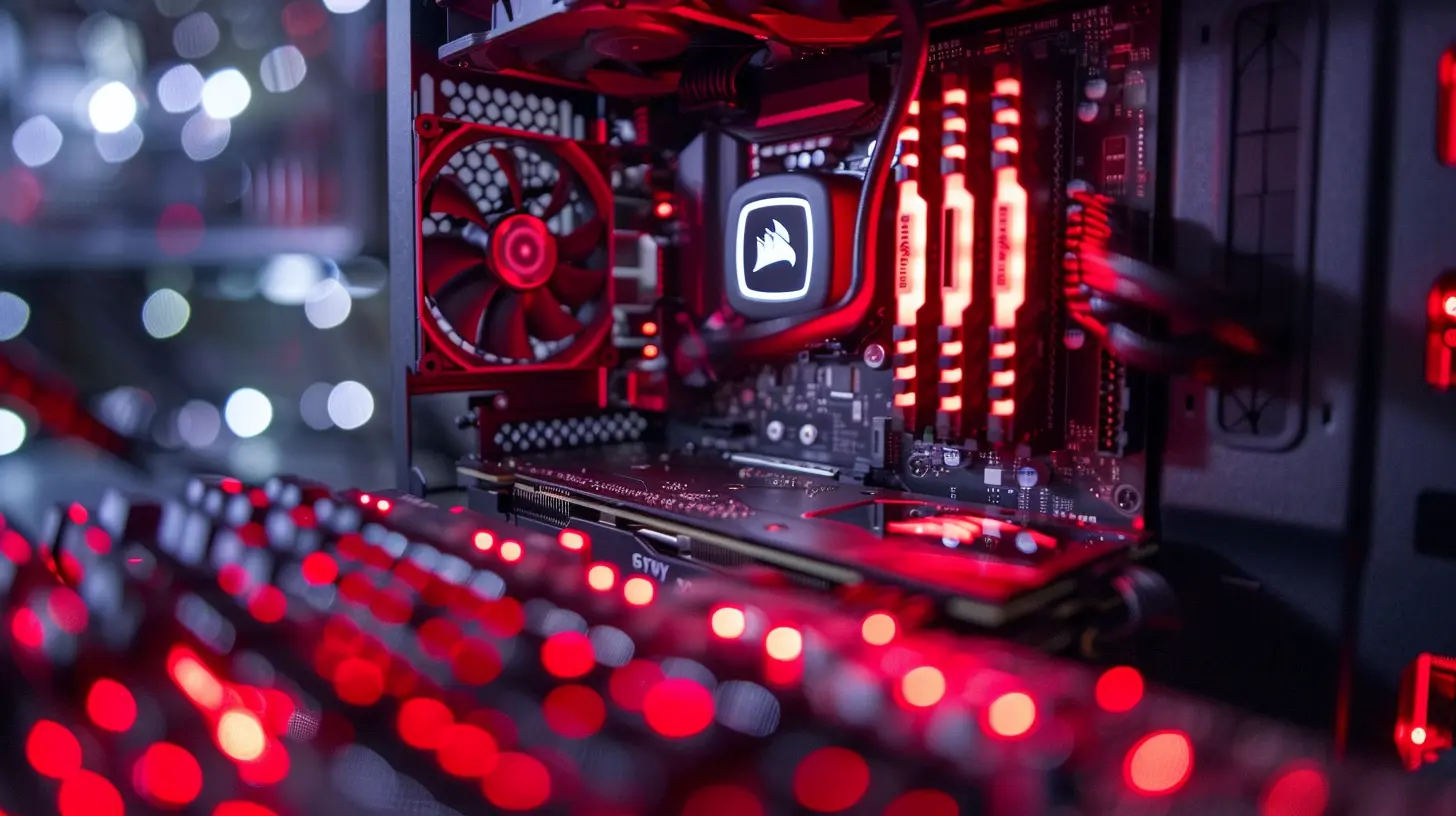
Stick with reputable brands like Corsair, G.Skill, Kingston, or Crucial. They cost a bit more, but they’re reliable and tested.🔥 Heatsinks and Aesthetics
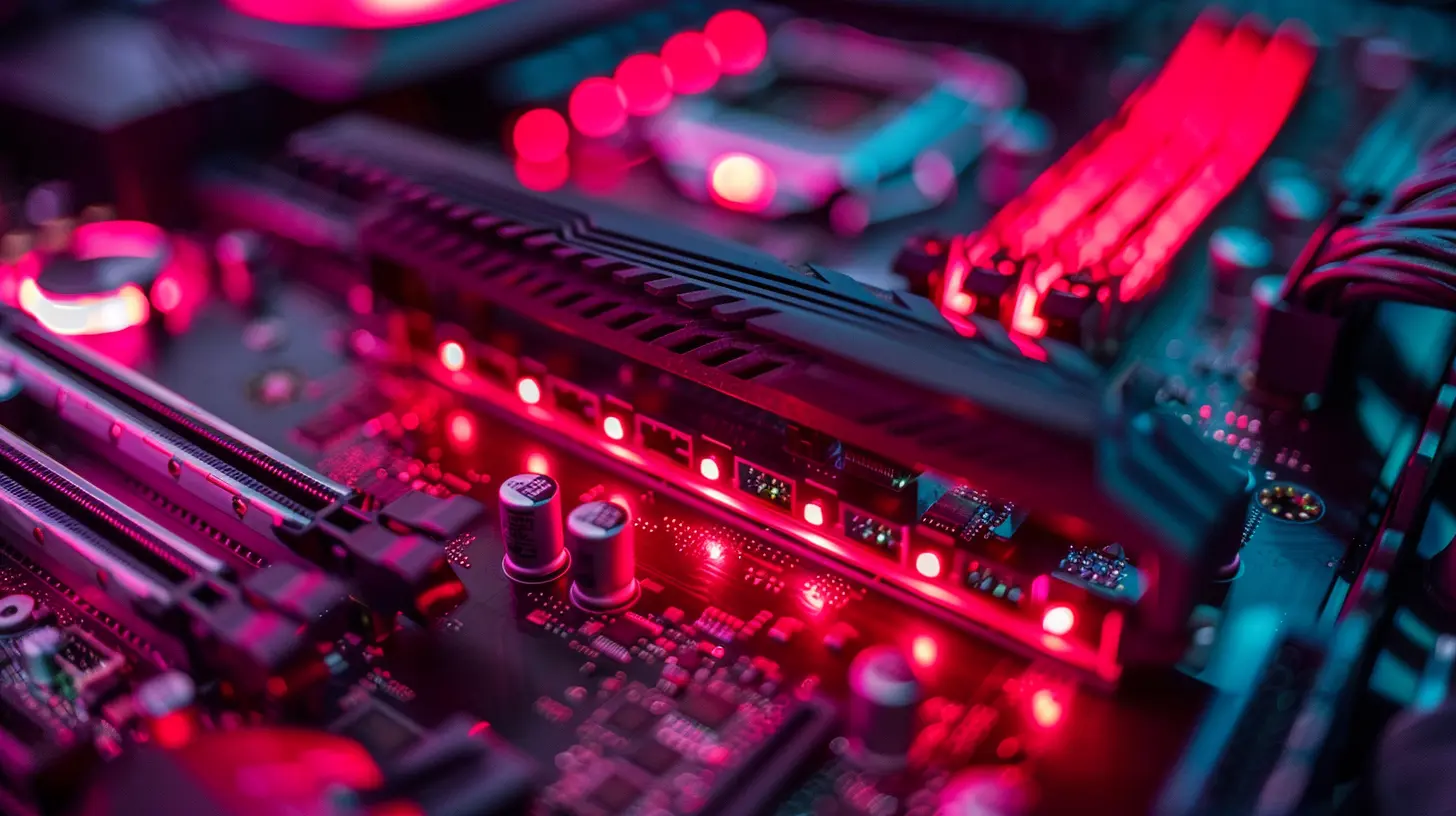
Does your PC case have a clear side panel? Fancy RGB RAM modules with sleek heatsinks look amazing and stay cool. Otherwise, focus on function over form.💰 Budgeting
RAM prices can fluctuate like gas prices. As of now:- 8GB (DDR4): ~$25–$35
- 16GB kit (2x8): ~$35–$60
- 32GB kit (2x16): ~$70–$90
If you’re on a tighter budget, upgrading from 8GB to 16GB is usually the sweet spot.
🧷 Step 4: How to Physically Install New RAM
Scared to open your PC? Don’t be. Upgrading RAM is one of the easiest DIY hardware upgrades.🛡️ What You’ll Need:
- Screwdriver (for desktops)- Anti-static wrist strap (optional but recommended)
- Clean, flat workspace
🚀 Desktop RAM Installation:
1. Shut down and unplug your PC.2. Open the case (usually 2–4 screws on the side panel).
3. Locate the RAM slots on the motherboard.
4. Release the clips holding the old RAM (if replacing).
5. Line up the new RAM module's notch with the slot.
6. Push down firmly until the clips snap into place.
Boom. That’s it.
💻 Laptop RAM Installation:
1. Power off and remove the battery (if removable).2. Unscrew the back panel or RAM access panel.
3. Remove old modules at a 45° angle (gently).
4. Insert new RAM at the same angle, then press down to lock it.
Make sure everything clicks into place. Reassemble, and pat yourself on the back.
⚙️ Step 5: First Boot – Check If It’s Working
Once you reboot, your system should automatically recognize the new RAM. But let’s double-check it.- Go back to Task Manager > Performance > Memory (Windows)
- Or About This Mac > Memory (macOS)
You should see the new total RAM and that all sticks are recognized.
If your system isn’t booting or shows the wrong amount:
- Double-check that the RAM is seated properly.
- Try re-seating them.
- Make sure your modules are in the correct slots (dual-channel usually prefers slot 2 and 4).
🧮 BIOS Check (Optional)
Sometimes, it’s good to check the memory settings in BIOS to see if the speed and channels are set up right. Look for settings like XMP (Extreme Memory Profile) and enable it to get advertised speeds.🏁 Step 6: Benchmark & Enjoy the Speed Boost
Noticed things loading faster already? Awesome. But if you're curious, you can actually measure the difference!🧪 Try These Benchmark Tools:
- UserBenchmark- PassMark
- AIDA64
Or just fire up your favorite software and games. Multitask like a pro. Open 30 tabs. Render a video. Your upgraded RAM is ready to flex.
🧰 Bonus Tips: Get the Most Out of Your RAM Upgrade
Upgrading is great, but optimizing it? That’s next level.✨ Enable Dual Channel:
Always install RAM in matched pairs (e.g., 2x8GB) and in the right slots on your motherboard (usually alternating slots). This doubles your memory bandwidth for better performance.🧼 Clean Out Background Apps:
More RAM helps, but it can only do so much if 40 tabs and 10 apps are hogging it. Use tools like MSConfig, Startup Manager, or Activity Monitor to trim the fat.🧠 Upgrade Your SSD Too:
Fast RAM + slow storage = a bottleneck. If you’re still on an old HDD, consider upgrading to an SSD for even snappier performance.📦 Keep Drivers Updated:
Check for BIOS and chipset driver updates from your motherboard or PC manufacturer. This ensures optimal memory compatibility and performance.🧩 TL;DR – RAM Upgrade Cheat Sheet
- Check current RAM: Use Task Manager or About This Mac.- Figure out what type of RAM is compatible: Speed, DDR type, form factor.
- Pick a trusted brand and match sizes for dual-channel.
- Install carefully: Line up the notch, press down firmly until it clicks.
- Boot up and verify: Make sure it's showing up.
- Enable XMP in BIOS (for full speed benefits).
- Optimize your system: Close background tasks, combine with SSD, update drivers.
🚀 Final Thoughts: A Small Upgrade with a Big Impact
RAM upgrades are like giving your PC a fresh shot of energy. It's not the flashiest upgrade, but it's one of the most cost-effective ways to breathe new life into a slow machine. Whether you’re a gamer looking for smoother frames, a creator craving faster rendering, or just tired of Chrome chugging along—adding more memory might be the fix you’ve been waiting for.And the best part? You don’t need to be a tech wizard to do it. Follow the steps above, and you’ll be running at full speed in no time.
all images in this post were generated using AI tools
Category:
Computer HardwareAuthor:

Reese McQuillan
Discussion
rate this article
2 comments
Damon Thornton
Great tips! Upgrading RAM really boosts performance—definitely worth the effort!
June 10, 2025 at 3:35 AM
Reese McQuillan
Thank you! I'm glad you found the tips helpful. Upgrading RAM can truly make a significant difference!
Zephyra McRae
Great article! Upgrading RAM can significantly boost performance. I appreciate the clear steps outlined for compatibility and installation. Just a reminder: always check your motherboard's specifications before purchasing new RAM. Keep up the good work!
June 7, 2025 at 11:44 AM
Reese McQuillan
Thank you for your feedback! I'm glad you found the article helpful. Great reminder about checking motherboard specifications!